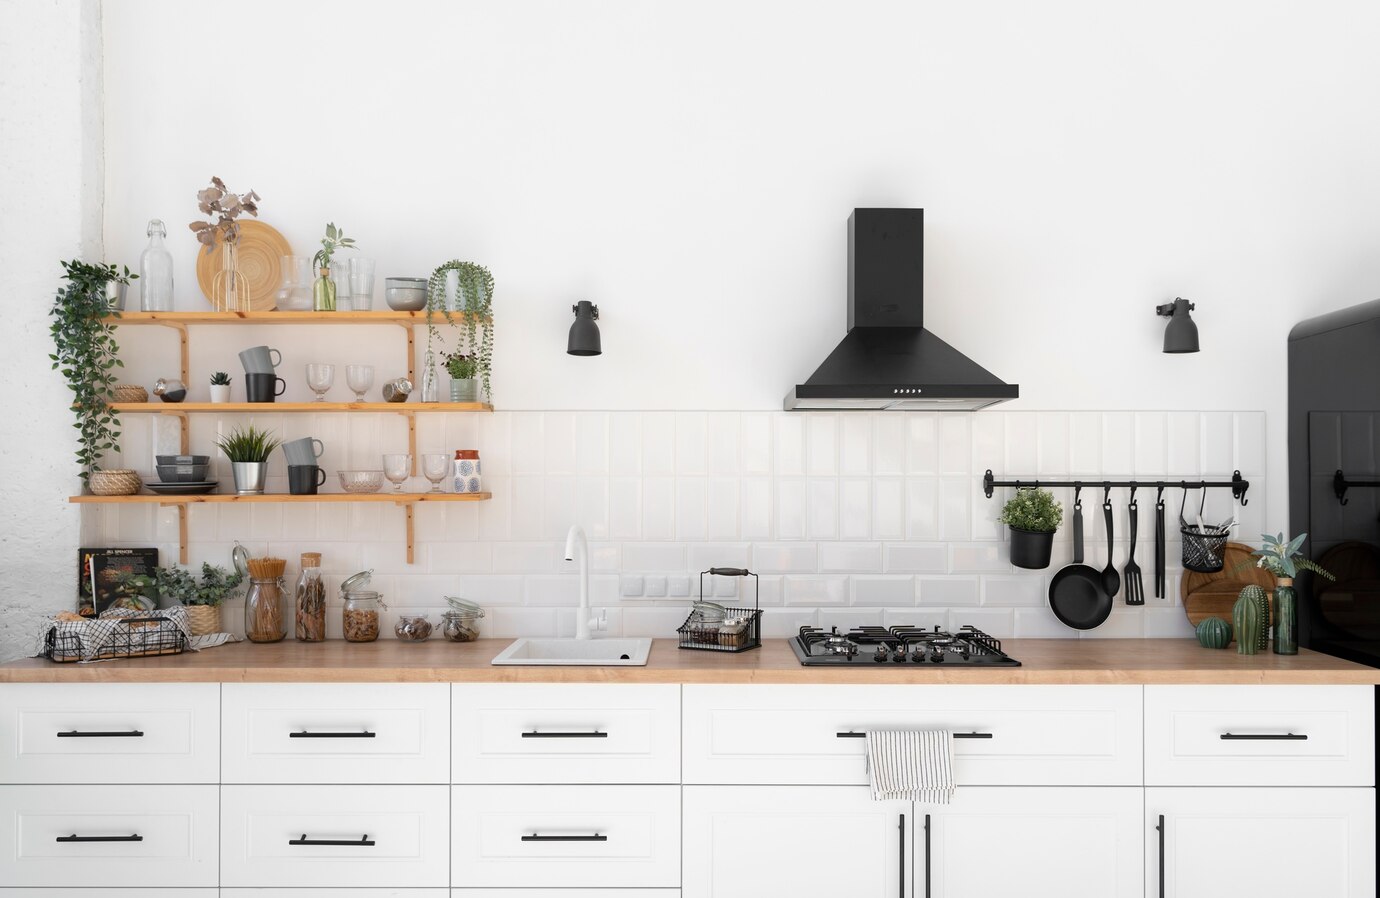
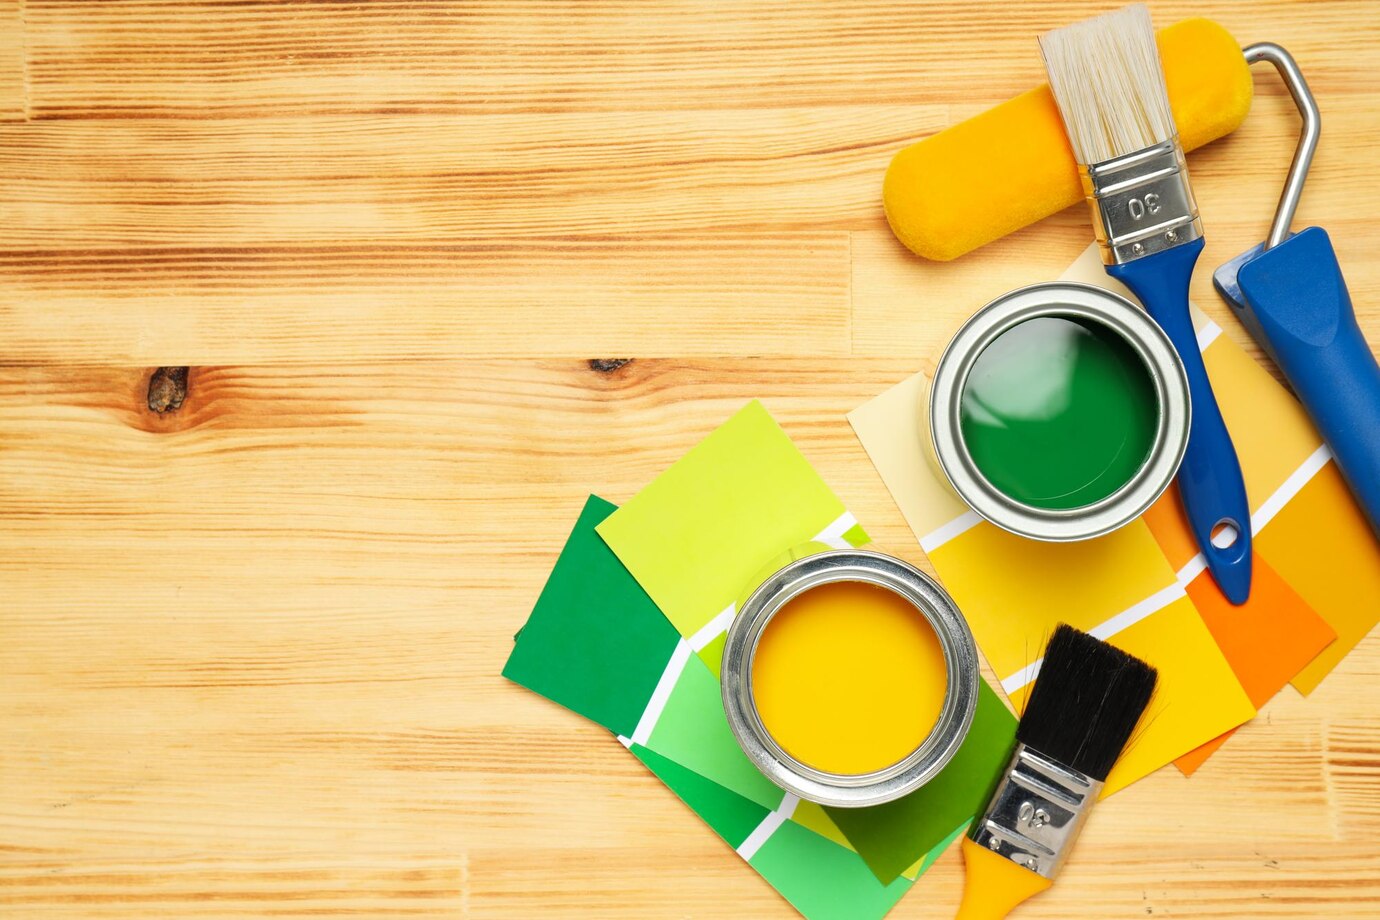
If you’re like us, always looking for ways to refresh and personalise your home, you’re in for a treat. Painting cabinets in your kitchen, bathroom, or laundry room offers a cost-effective yet transformative approach to revamping your space. It’s not just about changing colours; it’s about infusing your home with a touch of your personality and style.
Here are the nine must-try cabinet painting techniques that will inspire you to transform your space with colour, texture, and personalised style:
1. Color Washing for a Subtle Antique Look
Start with a clean, smooth surface by removing any hardware and cleaning your cabinets thoroughly. Light sanding might also be necessary to ensure the paint adheres well.
- Choose your base coat: Apply a solid base coat of paint in the colour of your choice. This will be the main colour peeking through your glaze, so choose something that complements your room’s decor.
- Mix and apply the glaze: Once your base coat is dry, mix a glazing medium with a bit of paint (usually a lighter shade) to create your glaze. Apply this mixture over the base coat using a brush or rag, working in sections to create a soft, washed-out effect.
Before the glaze dries, use a dry brush or rag to softly blend and remove excess glaze, enhancing the antique look. The key is to work quickly and in sections to achieve a uniform finish.
Sample colours: Choose a light cream or beige base with a pale blue or soft lavender wash for a serene, antique look.
Protect your beautiful work with a clear topcoat after the glaze has dried completely. This will ensure your cabinets can withstand the test of time and everyday use.
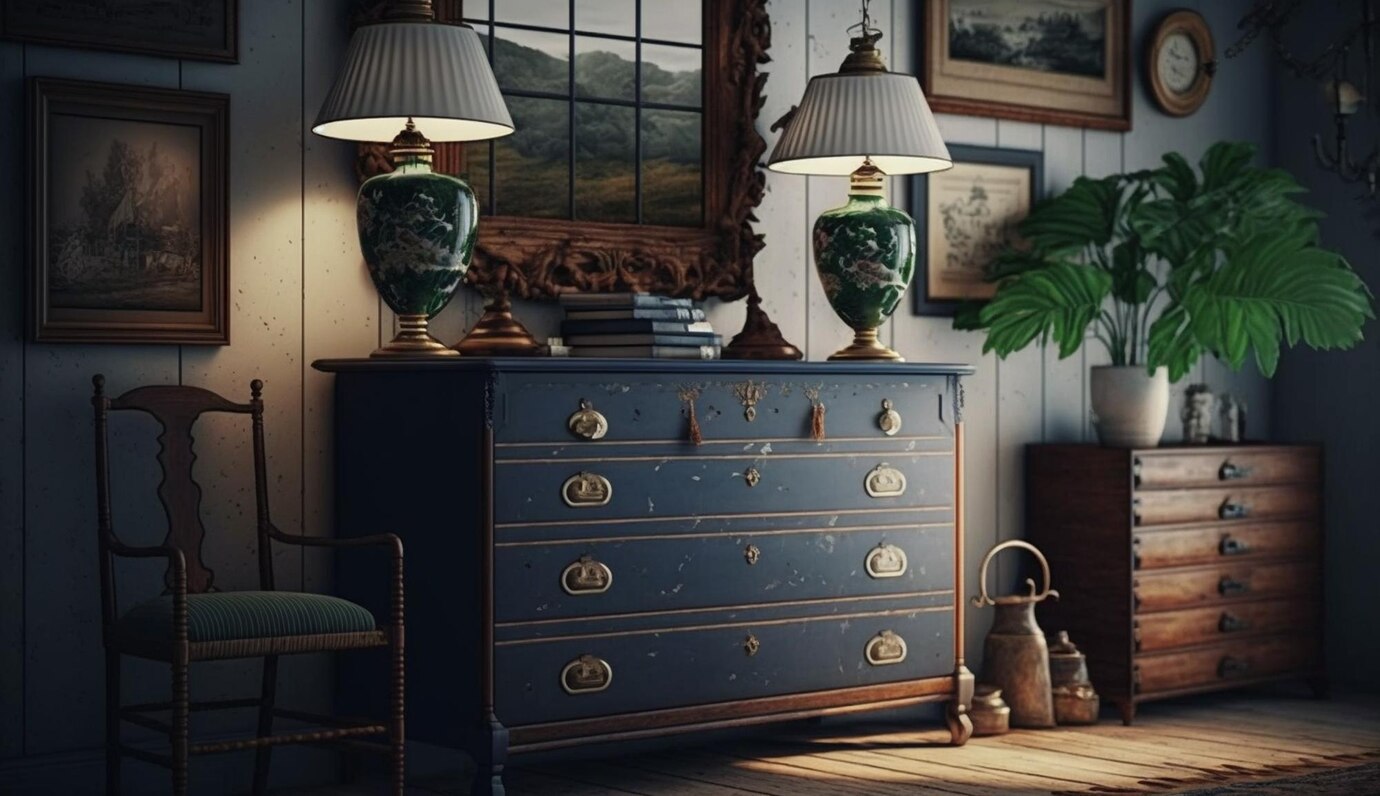
2. Distressed Painting for a Rustic Charm
When painting distressed cabinets, you’ll need to use two colours. The base coat will show through the distressed areas, while the topcoat will be the primary colour of your cabinet. It’s important to select colours that complement each other and your room’s decor. Before painting, clean your cabinets thoroughly and remove any hardware. Lightly sand the surfaces to ensure the paint adheres better.
- Apply the base coat: Once your cabinets are prepped, apply the base coat. This layer doesn’t have to be perfect, as much of it will be sanded away, but ensure its evenly applied.
- Apply the topcoat: After the base coat has dried completely, apply the topcoat. This is the colour that your cabinets will primarily be. Wait for it to dry thoroughly.
- Distress the cabinets: Using sandpaper, gently sand areas of the cabinet that naturally show wear over time, such as edges, corners, and raised details. The goal is to remove some topcoat to reveal the base coat beneath, creating that coveted distressed look.
Sample colours: Use a deep charcoal or navy as your base, with a topcoat of white or cream to achieve a striking, rustic contrast when distressed.
To protect your newly distressed cabinets, apply a clear sealer. This will ensure they stand up to daily use while keeping the rustic charm intact.
3. Stenciling for Personalised Designs
The first step is to select a stencil that speaks to you. There are countless options available online or at your local craft store. Consider the overall theme of your room and the look you’re aiming for.
As with any painting project, preparation is key. Ensure your cabinets are clean, smooth, and free of any hardware. Light sanding is necessary to create a perfect canvas for your artwork.
Once your cabinets are prepped, position your stencil where the design appears. Use painter’s tape to hold it in place securely, ensuring it doesn’t shift as you work.
- Apply the paint: Using a small brush or a sponge, apply paint over the stencil. Be sure to use a dabbing motion rather than brushing to prevent the paint from bleeding under the stencil. Less is more here; you can always add another coat if needed.
- Reveal your design: Carefully remove the stencil while the paint is still slightly wet to avoid peeling. Allow the paint to dry completely before touching up any areas as needed.
Sample colours: Bright whites or soft greys serve as excellent backgrounds for stencilling, with vibrant colours like teal, coral, or metallic gold for a pop of personality.
Apply a clear topcoat over the painted area to protect your beautiful design. This will ensure your stencilled cabinets can withstand daily use and cleaning.
4. Strie Painting for a Striped Finish
For strie painting, you’ll need two shades – a base coat and a contrasting or complementary color glaze. The choice of colours will significantly impact on the final look, so consider your room’s colour scheme carefully.
Ensure your cabinets are clean, smooth, and free from hardware. A light sanding might be necessary to ensure the paint adheres well.
- Apply the base coat: Paint your cabinets with the base colour and let them dry completely. This layer will be the foundation of your strie effect.
- Mix and apply the glaze: Mix your chosen colour with a glazing medium according to the product instructions. Apply a thin layer of glaze over the base coat using a brush. Work in small sections to keep the glaze manageable.
- Creating the strie effect: While the glaze is still wet, use a strie brush or a regular, long-bristled brush to gently drag through the glaze, creating fine lines that mimic the look of the fabric. Wipe your brush clean after each stroke to maintain a consistent effect.
Sample colours: Start with a warm taupe or grey base, applying a glaze in a slightly darker shade to create the fine, linen-like stripes that define the strie effect.
Allow the glaze to dry thoroughly. For added durability, especially in high-traffic areas, consider applying a clear topcoat to protect your beautiful strie finish.
5. Sponging for a Multidimensional Effect
The first step is selecting the colours you want to use. You’ll need a base coat colour and one or more colours for sponging. The choice of colours will greatly influence the final look, so take your time to pick shades that complement each other and your room’s decor. As with any painting project, preparation is crucial. Clean your cabinets thoroughly and remove any hardware. A light sanding may be necessary to ensure the paint adheres properly.
- Apply the base coat: Paint your cabinets with the coat colour and let them dry completely. This colour will serve as the background for your sponging.
- Begin sponging: Dip a natural sea sponge into your chosen paint colour, then dab off any excess paint to avoid dripping. Gently press the sponge onto the cabinet surface, creating a textured pattern. Repeat this process, alternating colours if desired, until you’re satisfied with the effect.
- Layer and blend: The beauty of sponging comes from the layers and the way the colours blend. Don’t be afraid to overlap colours and work in different directions to create a rich, textured look.
Sample colours: For a multidimensional effect, begin with a sandy beige base, sponging on layers of burnt orange and moss green for a rich, earthy texture.
Apply a clear topcoat to protect your cabinets once you’re happy with the sponging effect and the paint has dried. This will ensure they can withstand daily use and cleaning.
6. Metallic Finishes for a Luxe Feel
A wide range of metallic paints is available, from spray paints to brush-on options. Choose a product that suits your desired finish and the level of durability you need.
Good preparation is key to a flawless finish. Clean your cabinets thoroughly to remove grease and dirt, and sand them lightly to ensure the paint adheres well. Remove any hardware to avoid paint splatters.
- Apply a primer: A primer will help the metallic paint adhere better and enhance its true colour. Choose a primer suitable for metallic paint and apply it according to the manufacturer’s instructions.
- Paint with your metallic colour: Apply your metallic paint once the primer is dry. Hold the can at the recommended distance for spray paints and use even strokes to cover the surface. If you’re using brush-on paint, apply it with a high-quality brush or roller for a smooth finish.
Sample colours: Apply a base coat of deep blue or jet black, followed by a metallic topcoat in silver, gold, or bronze for a luxurious, reflective finish.
Metallic finishes can be more susceptible to scratches and wear, so a protective topcoat is essential. Choose a clear topcoat compatible with your metallic paint and apply it carefully to preserve the finish.
7. Chalkboard Paint for Functional Creativity
Select a high-quality chalkboard paint in traditional black or various colours to match your decor.
Ensure your cabinets are clean, smooth, and free of any hardware. Light sanding may be necessary to create an ideal surface for the paint to adhere to.
- Apply the paint: Use a roller or brush to apply the chalkboard paint evenly. You might need several coats to achieve a fully opaque, smooth finish. Be sure to allow adequate drying time between coats.
- Condition the chalkboard surface: Once the paint is dry, prepare the surface for use by lightly rubbing the side of a piece of chalk over the entire area, then erase it. This step ensures that your first marks can be easily removed.
Sample colours: While classic black is the go-to for chalkboard surfaces, consider navy, dark green, or even rich burgundy for a unique twist that allows chalk to pop.
Now, your cabinets are not just storage solutions but interactive spaces. Use chalk to write notes and menus, or let the kids draw and express themselves. It’s a fun way to keep everyone organised and engaged.
8. Two-Tone Cabinets for a Bold Contrast
The key to nailing the two-tone look is choosing colours that complement each other and tie in with the rest of your room’s decor. Consider using a lighter colour for the upper cabinets to keep the space open and airy, with a darker shade below for grounding.
As always, preparation is crucial. Clean and sand your cabinets to ensure a smooth surface for painting. Remove doors and hardware to make the painting process easier and more precise.
Start with the lighter colour for your upper cabinets or the section you’ve chosen to highlight. Once dry, move on to the darker colour for the lower cabinets or the contrasting section. Use painter’s tape to achieve clean lines where the two colours meet.
Sample colours: Pair a light upper cabinet in soft grey or pale mint with lower cabinets in bold navy or emerald, green for a dynamic, modern contrast.
After the paint has dried and you’ve applied any necessary topcoats for protection, reattach the doors and hardware. Step back and admire how the two-tone effect has transformed your space.
9. Glazing for Depth and Dimension
Glazes come in various colours, so select one that complements the base colour of your cabinets and fits the desired look. A darker glaze is typically used over a lighter base coat to create a striking contrast.
Ensure your cabinets are clean and free from any grease or dust. If you’ve just painted them, ensure the base coat is completely dry before applying the glaze.
Using a brush, apply the glaze liberally over the surface of your cabinets. Don’t worry about being too neat; the goal is to get the glaze into all the nooks and crannies.
After a few minutes, wipe away the excess glaze with a clean, dry cloth. The longer you let the glaze sit, the darker the final effect will be, so experiment with timing to achieve your desired look. Use a smaller brush to reapply glaze into the deeper grooves or details you want to highlight. This step is key to achieving that added depth and dimension.
Sample colours: Use a light, neutral base like off-white or light grey, applying a dark brown or black glaze to accentuate details and add depth for an elegant, aged appearance.
Once satisfied with the glazing, apply a clear topcoat to protect your cabinets and ensure the glaze adheres properly. This will also make your cabinets easier to clean and maintain.
So, what are you waiting for?
It’s an excellent way to enhance the beauty of your cabinets, adding a layer of sophistication and elegance that reflects your unique taste. With practice and patience, you can achieve a professional-looking finish that makes your cabinets stand out and become a focal point in your home.
If you’re eager to start but unsure where to begin, or if you’re looking for that flawless professional finish, don’t hesitate to reach out to expert renovators like us at butlerBATHROOM+, who can bring your vision to life with precision and care.